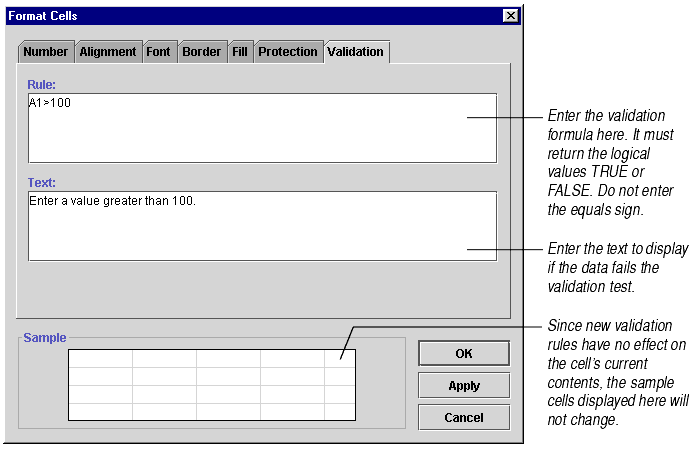

You can limit data entry by specifying a validation rule for a cell. A validation rule consists of a formula to test the cell entry against and text to display if the validation fails. The formula must return either TRUE or FALSE. If the formula returns TRUE, the value is entered. If the formula returns FALSE, the value is not entered and the validation text is displayed in an error dialog box.
For example, you can limit the range of values a user can enter in a cell by creating a rule that fails if the user enters a number less than 100 and displays the message "Enter a value greater than 100."
You can use relative references in validation rules. These references are considered to be relative to the active cell. This allows a validation rule to be properly applied to an entire range.
Note Microsoft Excel's validation rules are incompatible with Formula One for Java's. Any validation rules will be deleted if you export a Formula One for Java file to Excel and vice versa.
To create a validation rule:


The validation formula must be a worksheet formula that evaluates to TRUE or FALSE. Following are several examples of validation formulas.
Note Validation rules are only checked if data is entered by typing it in and pressing ENTER. Any other way of entering data, such as selecting a value from a check box, bypasses validation.
